How to Set Up a Fishing Pole: A Comprehensive Guide
Prepare for an adventure in angling with our comprehensive guide on how to set up a fishing pole. Geared towards beginners and seasoned veterans, we focus on the user-friendly spinning rod and reel, minimizing complications like line tangles. Whether you’re into bass or mackerel fishing, the guide covers assembling the rod and reel, threading the line, and attaching the lure.
This tailored resource ensures a smooth experience for all, offering insights into essential tools and simple steps for pole setup. Regardless of your fishing preference, our guide emphasizes key elements for a sturdy rod and effective lure. Ready to cast into a world of fishing success? Let’s dive into the details of setting up your fishing pole!
Also Read: Use to Catch Crappie – The 7 Best Crappie Baits
What You Need Before You Start Fishing
Here’s a list of all the equipment you’ll require:
These are the necessities. While not an exhaustive list, having these items ensures you’re ready to start setting up your fishing pole!
Assembling Your Rod And Reel
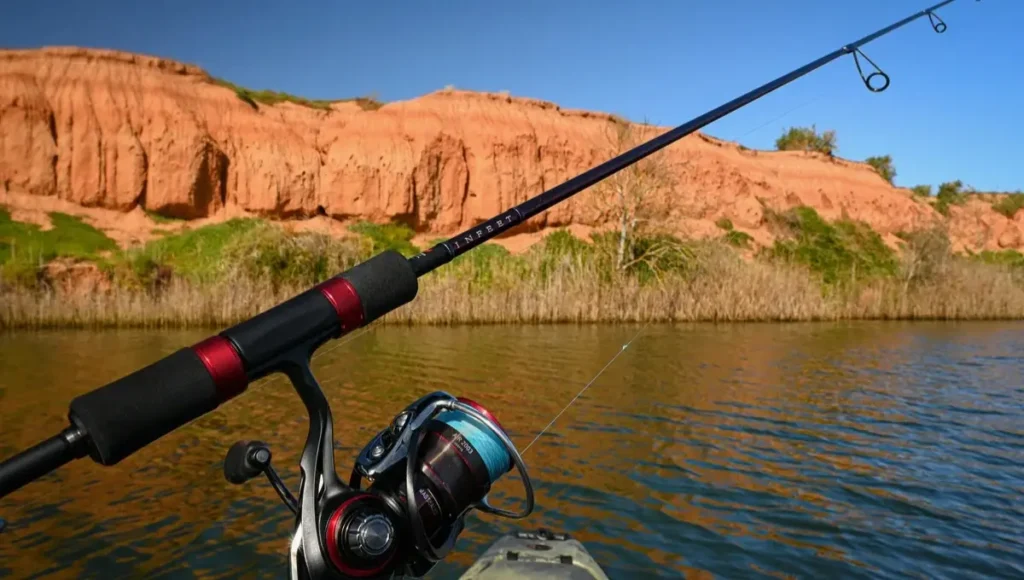
With our gear assembled, let’s kick off the process by addressing the initial and frequently overlooked step: cleaning your rod.
Step 1: Clean Your Rod
Whether your fishing rod has been idle for an extended period or exposed to dirt and salt water, a thorough cleaning is vital to prevent wear and tear, ensuring its long-term durability. Whether you’re setting up the rod for the first time or not, follow these effective cleaning steps:
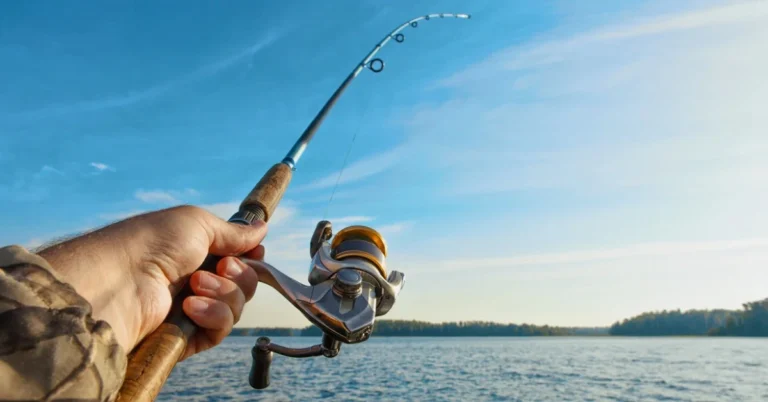
Fishing rods, crucial for casting lines into the waters, vary based on the targeted fish. Choose a durable rod depending on the catch’s weight. Whether one piece or multiple pieces, these rods can be assembled with practice. Before use, clean the rod by wiping it down with a cloth to remove dirt and debris, thereby extending its lifespan. Pay special attention to cleaning the female ferrule with a cotton swab to maintain the rod’s integrity and prevent scratches.
Step 2: Put Your Rod Together
If your fishing pole consists of two or more pieces, follow these steps:
Assembling these rods may require some practice, but the effort is worthwhile. Fishing rods can be either one piece or have multiple pieces.
Before use, ensure a clean assembly. Wipe down both pieces with a cloth to remove any dirt or debris that may scratch the rod. Use a cotton swab to clean the female ferrule, maintaining the rod’s cleanliness and extending its lifespan. Remember, keeping the rod clean is essential to prevent scratches and damage to the connecting pieces.
Step 3: Unscrew The Reel Seat
Most fishing rods feature a ring or hinge at the junction of the handle and the rod.
To begin, unscrew the round locking nut by locating it and twisting it until it loosens enough to slide up along the handle. Be careful not to detach it; create enough space to fit in the reel.
Attach the reel by identifying the female opening, known as the reel seat, at the rod’s bottom. Insert the reel and position the reel seat, acting like a smooth handle, over the butt end of the reel. Thread it onto the reel and rotate until all components feel secure.
Exercise caution to avoid over-tightening the reel, as excessive force can potentially crack and damage the rod.
Remember, in threading, the right is tight, and the left is loose. When viewing your rod from the back end, clockwise rotation tightens the thread, while counter-clockwise loosens it.
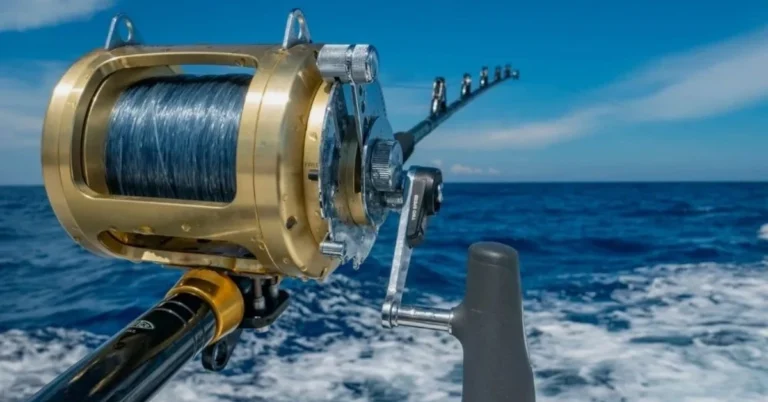
The fishing reel is often an integral part of the rod, serving to pull in the line cast into the sea. It’s a vital tool for fishing, and the choice of reel depends on whether you’re fishing in saltwater or freshwater.
Step 4: Insert the Reel Foot into the Reel Seat and Secure it
Begin by placing the reel foot into the reel seat opening, ensuring a secure connection. Slide it along until it clicks into place.
Next, tighten the reel seat to firmly secure everything. Rotate the locking nut clockwise, maintaining just enough tension for stability without overtightening.
Give the reel a spin and check for any wobbling or looseness. Address issues by loosening the locking nut, adjusting the reel foot, and then re-tightening. Ensure a stable connection by inserting the Reel Foot into the Reel Seat and securing it properly.
Step 5: Adapt for Right or Left-Handed Use
Most spinning reels offer customization for both right and left-handed operations, catering to personal preferences.
To detach the handle, either unscrew it or utilize a release button, depending on your reel model. If a screw is present, locate it at the centre of the handle and turn it counterclockwise for removal. Alternatively, find a release button around the handle and press it to easily detach the handle.
When attaching the handle to the reel’s side, follow these steps in reverse. Insert the handle into its designated opening and secure it by either screwing clockwise or snapping it into place, depending on your reel’s design.
Adjusting spinning reels for right or left-handed use is straightforward. Depending on your reel model, unscrew or use a release button to detach the handle. Reverse the steps to attach it securely, either by snapping it into place or screwing it clockwise, based on the reel’s design.
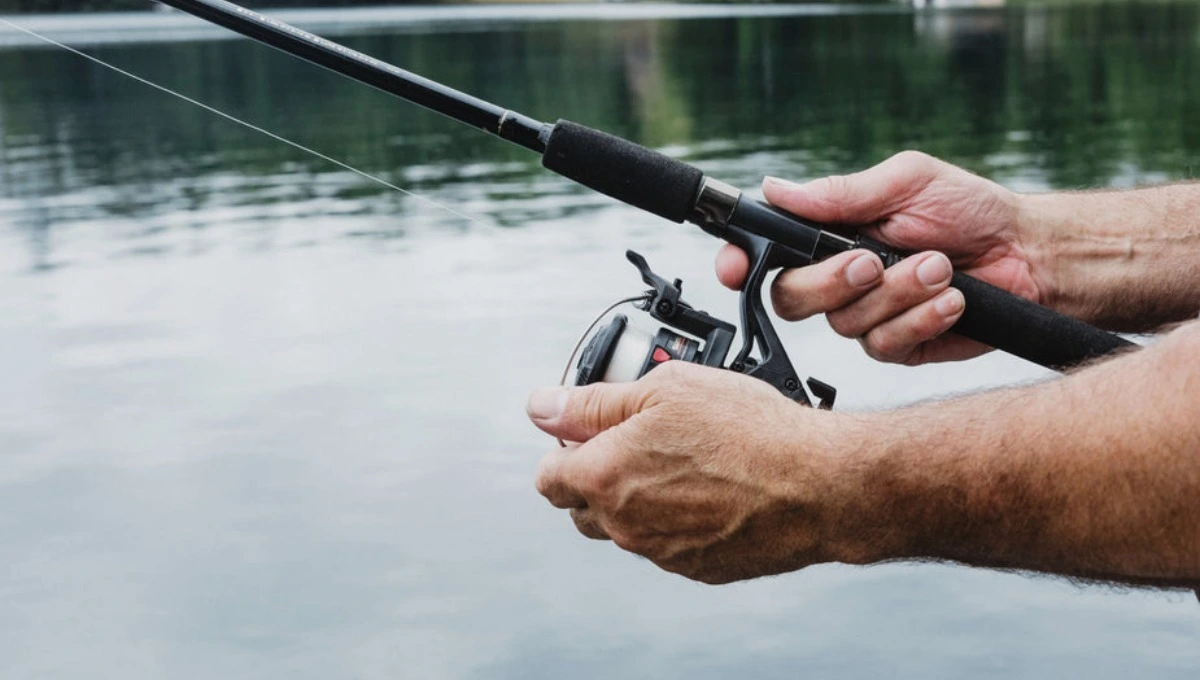
Setting Up Your Fishing Pole (Thread the Line)
This is where your rod truly takes on the essence of a fishing rod – the process of threading the line. Minimal materials are required for this step; ensure your fishing line is prepared.
Step 1: Observe the Spool’s Rotation Direction
Determine the spool’s rotation direction by turning the handle as if you were reeling in a catch. Watch the bail, the part that flips back and forth on your reel, to observe its rotation.
If the reel spool rotates clockwise when you turn the handle, wind the line onto the reel in a clockwise direction. Simultaneously, the line should unwind from the filler spool in a counterclockwise direction.
Step 2: Open The Bail
The metal arm on your spinning reel, referred to as the bail, manages the flow of the fishing line. When the bail is down and closed, it secures the line. Flipping the bail up or away from the reel releases the line, allowing it to be freely released.
To thread your line, simply flip the bail up or away from your reel until it clicks into place. Ensure it stays securely in position.
Step 3: Guide the Line Through the Initial Guide
Locate the guide near the reel seat at the base of your fishing rod to begin. Thread the fishing line through this guide, ensuring movement from the rod tip to the handle. Finally, attach the line to the spool securely by tying an arbour knot.
Step 4: Spool Your Reel
Commence by placing your reel on a flat surface, like a table or the floor.
Ensure a secure grip on your fishing line between your fingers to prevent slipping or twisting while winding it onto the reel.
With both spool and line positioned correctly, turn the reel’s handle consistently and smoothly. This action ensures the line winds neatly around the spool.
A common mistake for beginners is an improper filling of the reel—either overfilling or underfilling. Strive for balance, stopping when you reach 1/8 inch below the edge. If uncertain, follow the manufacturer’s recommendations without much concern.
Step 5: Set Up Your Line
Continuing from the initial guide in step 3, proceed to thread the line through the remaining guides along the rod. Gradually advance towards the tip of the rod until you reach the final guide.
Step 6: Close The Bail
The concluding action involves turning the bail down or towards your reel.
Upon completion, it’s now time to affix the finishing touch to your rod – a lure.
How To Attach A Lure
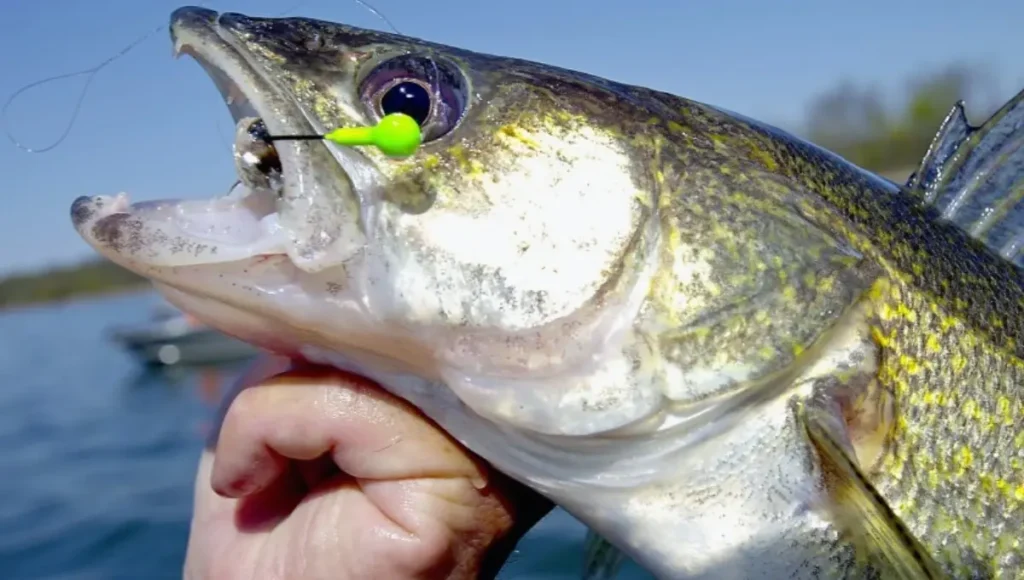
Selecting and affixing the appropriate lure to attract fish is comparable to choosing the perfect bait for your trap. It’s an art that demands finesse and a bit of knowledge, which we’ll delve into in this section.
Step 1: Guide the Line Through the Lure
When it comes to lures, you have a plethora of options: spoons, spinners, jigs, plugs, soft plastics, and flies, among others. Each type boasts unique qualities and strengths tailored for different fish species and situations.
Generally, every lure is equipped with either an eye or a hook. The process involves simply passing the end of your line through it.
Step 2: Practice Knot Tying
Ensuring your artificial bait is firmly attached to your line requires a skillfully tied knot. This guarantees that your lure stays secure during casting or when a fish strikes.
In the realm of fishing, various knots serve specific purposes. The clinch knot, improved clinch knot, Palomar knot, Rapala knot, Trilene knot, and loop knot are among the commonly used fishing knots. Some knots are optimal for attaching lures, while others excel in joining two lines.
Mastering the art of tying these fishing knots is a crucial skill for every angler. The key to proficiency lies in practice – a tactile skill acquired through hands-on experience rather than passive observation. With consistent effort, your fingers will soon adeptly handle fishing knots like those of a seasoned angler.
To start honing your skills, explore our guide, which provides step-by-step instructions on tying all the essential knots for fishing.
Step 3: Tie A Knot
After securing the knot, it’s essential to tighten it. Here’s a valuable tip: before the final tightening, slightly moisten the knot with water or saliva. This not only facilitates the smooth sliding of the knot into place but also minimizes friction that could potentially damage the line.
Following this, use a pair of scissors to trim any excess line protruding from the knot. Exercise caution not to cut too close to the knot to ensure its continued security.
Step 4: Snaps And Swivels
Snaps, metal clips that offer a quick and effortless method for changing lures without constant knot tying, and swivels, metal connectors allowing free rotation of your lure, are essential tools. They prevent fishing line twists or tangles as your lure moves through the water.
To use either tool, securely attach one end of the snap or swivel to your fishing line using a knot. Then, affix your lure to the end of the snap or swivel.
The benefits of using snaps and swivels include reduced line twists, enhanced convenience, and increased versatility. It’s important to note some drawbacks, such as the potential hesitation of cautious fish and a reduction in the natural movement of bait due to their weight.
Nevertheless, in most cases, the advantages significantly outweigh the disadvantages, making snaps and swivels crucial additions to any angler’s gear.
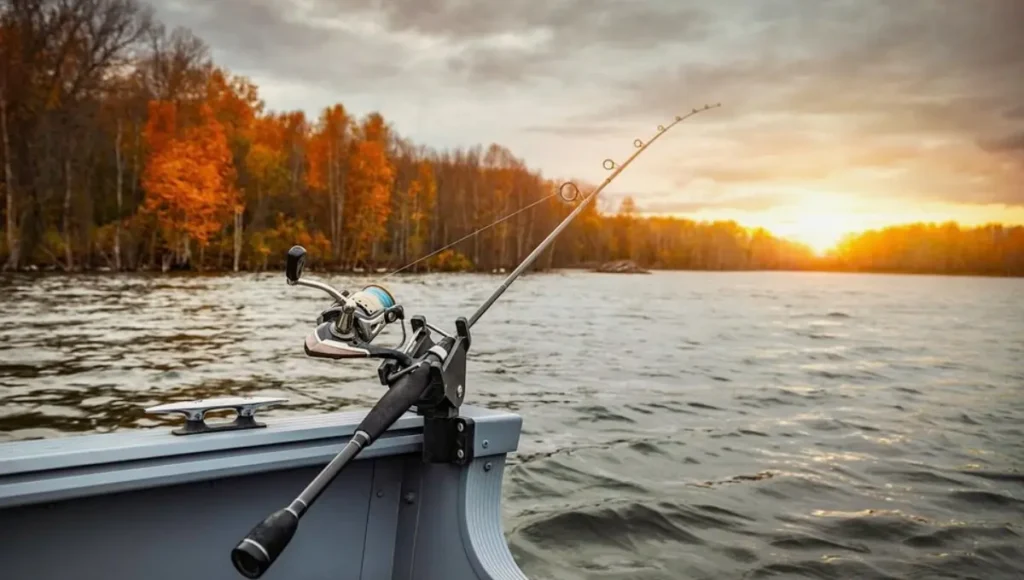
Step 5: Start Fishing
At this stage, your fishing pole is properly configured, and you’re prepared to commence fishing.
To initiate, cast your lure out. Open the bail, allowing some line to unravel, positioning the lure a few inches away from the rod tip.
For casting, grasp your rod with your dominant hand, elevate it behind your shoulder, and smoothly swing it forward. Once the line ceases to leave the spool, close the bail and reel in any slack or loose line.
You can opt to retrieve your line slowly, simulating the lure’s swimming motion, or let it remain stationary. If the former, turn the reel handle at a consistent speed, contingent on the lure type and intended action.
Vigilantly observe for signs of a bite, such as a pull, jerk, or rod bend. Upon detecting a bite, execute the hook set by sharply lifting the rod upward to firmly lodge the hook in the fish’s mouth. Commence reeling it in.
Maintain the fishing rod elevated and ensure constant line tension to prevent the fish from escaping.
Cautionary Notices
Setting up your fishing rod involves potential pitfalls that can mar your entire fishing excursion. Here are some prevalent mistakes to steer clear of
- Improperly filling your spool with line, either overfilling or underfilling, can result in issues like bird’s nests, diminished casting distance, and line breakage. It’s a mistake I made on my initial trip, attempting to maximize the line on my reel, which hindered casting and caused line twists.
- Using mismatched or damaged equipment not only affects performance but poses a significant danger. In one of my early fishing outings, I employed a rod too heavy for my reel, leading to the rod snapping at the base and the reel flying off, causing a bruise and cut on my cheek.
- Neglecting proper knot-tying can result in lost lures and missed catches. While knot tying may seem mundane, it’s a crucial skill, akin to free throws in basketball. Though not frequently used, you must perform well when needed. Ensure knots are tight and solid before fishing.
- Failing to open or close the bail during casting or retrieval is a common beginner’s mistake. An open bail during retrieval can cause line tangling, and forgetting to open it during casting can abruptly halt the cast, potentially damaging the rod. Always check the bail position before each cast or retrieval.
Frequently Asked Questions
Conclusion
For many, fishing transcends being just a hobby – it’s a source of relaxation, a means to cultivate patience and precision. Moreover, when handled with care and maintenance, fishing doesn’t incur significant expenses beyond the initial investment in gear.
As you embark on your fishing journey, prioritize the regular practice of your fishing pole setup. Experiment with various lures, master diverse knot-tying techniques and explore different casting and retrieval methods. Recognize the uniqueness of each location and species, adapting your approach to enhance the enjoyment of fishing.
Keep in mind that setting up a fishing pole correctly is the fundamental step for any fishing expedition. The rod and reel serve as the foundation upon which successful fishing relies, so ensure a meticulous and accurate setup. Wishing you the best of luck on your inaugural fishing adventure!
One Comment