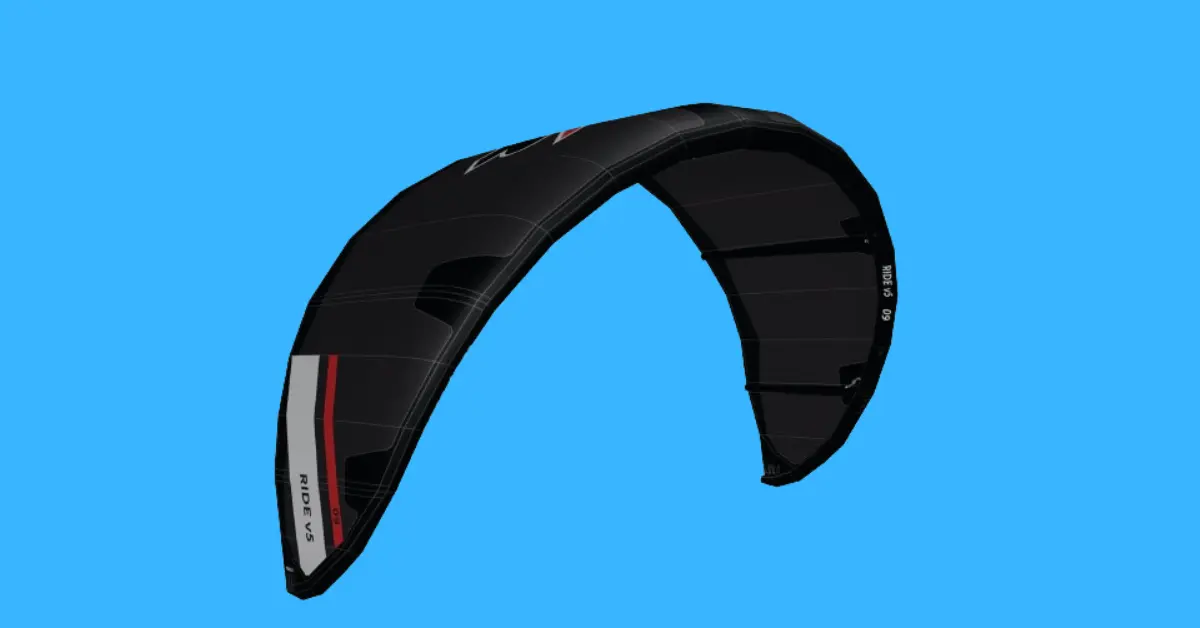
How to Sew a Kitesurfing Kite
Creating your kitesurfing kite allows you to customize the design for your needs while saving money over buying a ready-made model. Sewing the components together requires thorough planning and precision work. This guide will take you through everything from cutting materials to attaching the final control lines.
Basic sewing skills are helpful but optional, as all the steps use reinforcement techniques suitable for non-expert sewers. Proper materials like lightweight nylon fabric and waterproof thread help ensure the kite is sufficiently durable for withstanding winds and water. Following the instructions accurately is critical to developing a kite that flies smoothly and handles well. Let’s get started on this fun DIY project!
Also Read: Difference Between Kitesurfing and Kiteboarding
Building Your Own Kitesurfing Kite: Step-by-Step Guide
Materials Needed
Preparation Steps
Step 1: Cutting Fabric Panels
Step 2: Sewing Panels Together
Step 3: Attaching Bridle Points
Step 4: Installing Frame
Step 5: Finishing Touches
Testing
Test the kite in different wind conditions before use.
How do you fix a ripped kite?

To fix a ripped kite, start by assessing the damage to determine the size and location of the tear. Ensure the area around the rip is clean and dry to facilitate a successful repair. Cut a patch from ripstop nylon fabric slightly larger than the tear, rounding the corners to prevent snagging. Apply fabric glue or adhesive tape to the back of the patch and carefully position it over the rip, pressing down firmly to secure it in place.
If using fabric glue, apply pressure to the patch for the recommended time to ensure a strong bond. You can sew the patch onto the kite using a needle and thread for added durability. Once securely attached, allow the patch to dry completely before trimming any excess fabric or threads. Finally, give the repaired kite a gentle tug to test the patch’s strength before taking it out on the water.
What is the best thread for sewing kites?
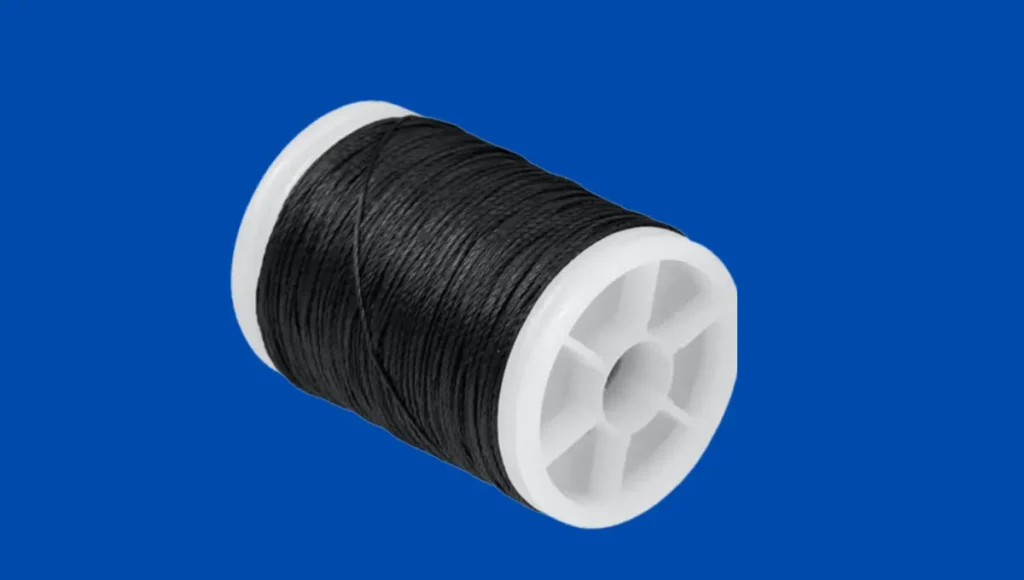
The best thread for sewing kites is typically a high-quality, durable thread that can withstand the stresses and strains experienced during kite flying. A polyester thread is commonly recommended for sewing kites due to its strength and resistance to UV exposure and moisture, which are essential properties for outdoor use.
Polyester thread offers excellent durability and stability, ensuring that the seams of the kite remain solid and intact even under challenging wind conditions. A polyester thread is less likely to degrade over time than other thread materials, making it a reliable choice for long-lasting kite construction. When selecting thread for sewing kites, choosing a color that complements the kite fabric and blends seamlessly with the overall design is essential.
Frequently Asked Questions
Conclusion
Sewing a kitesurfing kite is a rewarding endeavor that allows enthusiasts to customize their equipment to their preferences. Following a step-by-step guide and using suitable materials, anyone can create a high-quality kite tailored to their needs.
Whether repairing a rip or constructing a kite from scratch, attention to detail and patience are essential. Embrace the creativity and satisfaction of crafting your kite, and enjoy countless exhilarating adventures in kitesurfing.