How to Make Fishing Lures: Everything You Need to Know
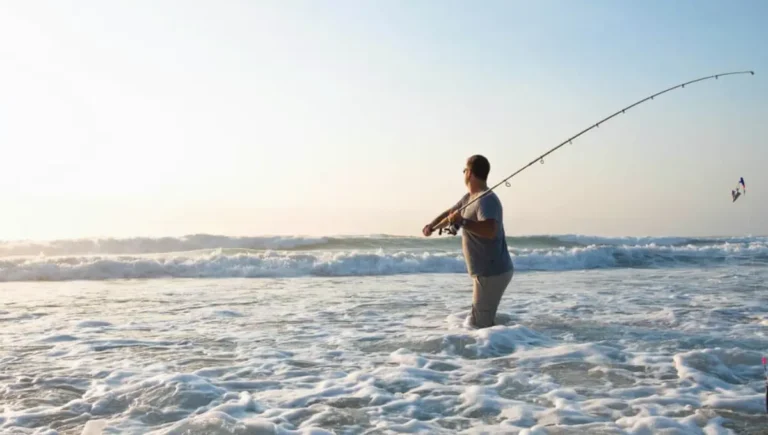
Crafting your fishing lures is an enthralling endeavor, combining creativity with precision for a personalized touch to your tackle box. Whether you’re a seasoned angler seeking a new challenge or a novice eager to dive into DIY tackle, this guide unravels the secrets of lure craftsmanship.
From selecting the right materials to mastering intricate designs, it provides a comprehensive exploration of the tools, techniques, and artistic considerations that define the craft.
The process not only adds a personal touch to your gear but also allows you to tailor your creations to the specific needs of your target catch. Join us on this captivating journey of lure making—an art that not only tempts fish but also reels in the passionate angler.
Also Read: 7 Best Types of Knots for Fishing Every Angler Must Know
Why Make Your Lures?
Crafting your fishing lures presents a multitude of compelling reasons for anglers to embark on this creative and rewarding journey. “Why make your lures?” By delving into lure crafting, you not only design according to your preferences but also introduce unique elements into your fishing strategy. The decision to create your lures is driven by:
Tools And Materials For Lure Making
Embarking on the art of lure-making requires a thoughtful selection of tools and materials to ensure your creations are not only effective but also tailored to your preferences. Crafting your lures offers a personalized touch to your fishing gear, making the process both rewarding and enjoyable. When delving into this craft, consider the following essential tools and materials, each playing a crucial role in the creation of effective and enticing lures:
Tools for Lure Making:
Materials for Lure Construction:
This comprehensive set of tools and materials ensures that whether you are a novice or a seasoned lure maker, you have everything needed to craft lures that are not only functional but also uniquely yours. Enjoy the journey of bringing your lure designs to life and enhancing your angling experience.
Types Of Lures You Can Make
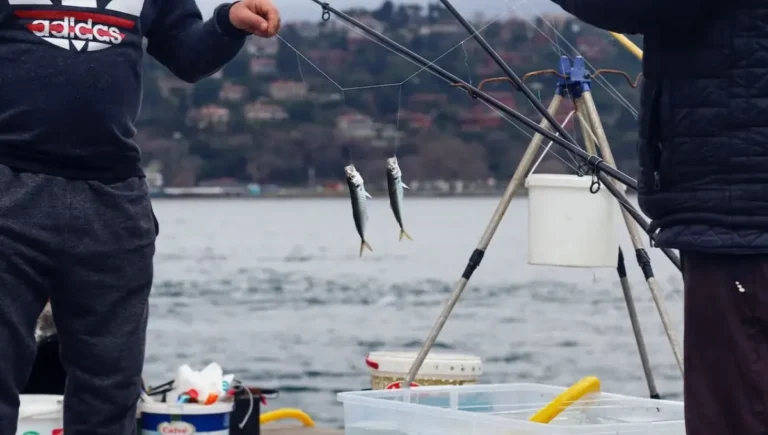
Unlocking a realm of angler creativity, crafting your lures introduces an array of types designed to mimic bait fish and lure in your target catch. Drawing from over two decades of fishing expertise, I can guide you through the art of making these lures. Before delving into the construction details, it’s essential to hone your knot-tying skills. Here, we explore seven distinct types of lures you can create, excluding the intricate realm of fly fishing:
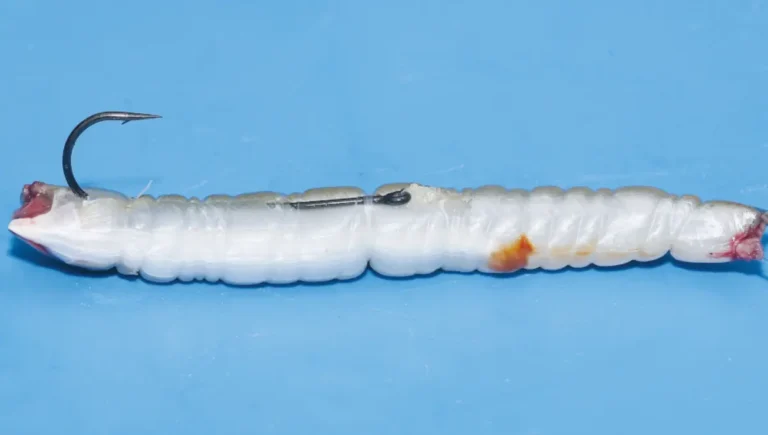
1. Making Soft Plastic Lures
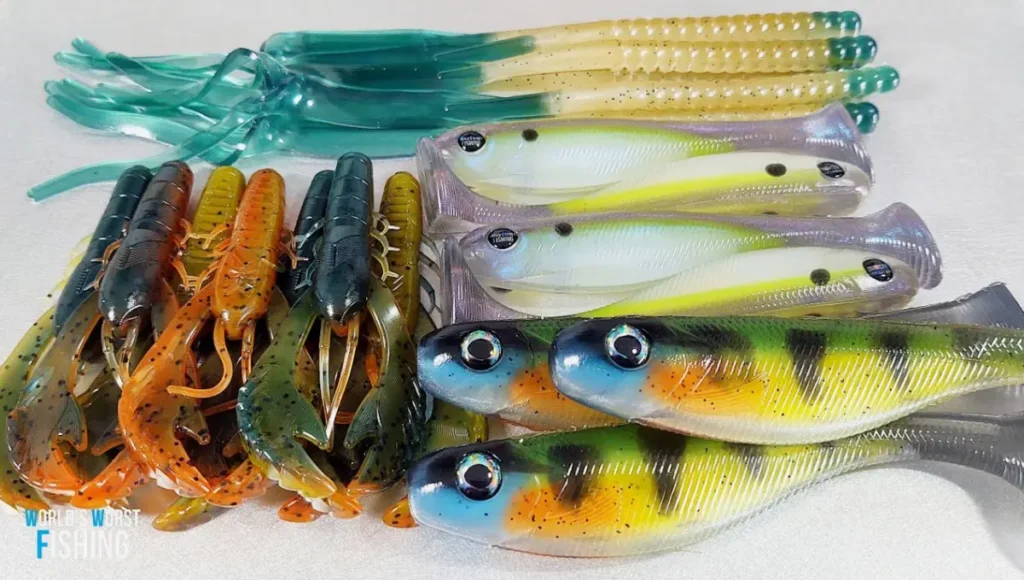
Embarking on the journey of making soft plastic lures is a rewarding endeavor, offering versatility for both freshwater and saltwater angling. Having personally experienced success, especially with smallmouth bass and bonefish, I share detailed steps to guide you through crafting your soft plastic lures—a process that has proven effective and enjoyable:
These steps not only guide you in the craft of lure making but also empower you with soft plastic lures tailored to lure in your target species, enhancing your angling adventures in various aquatic environments.
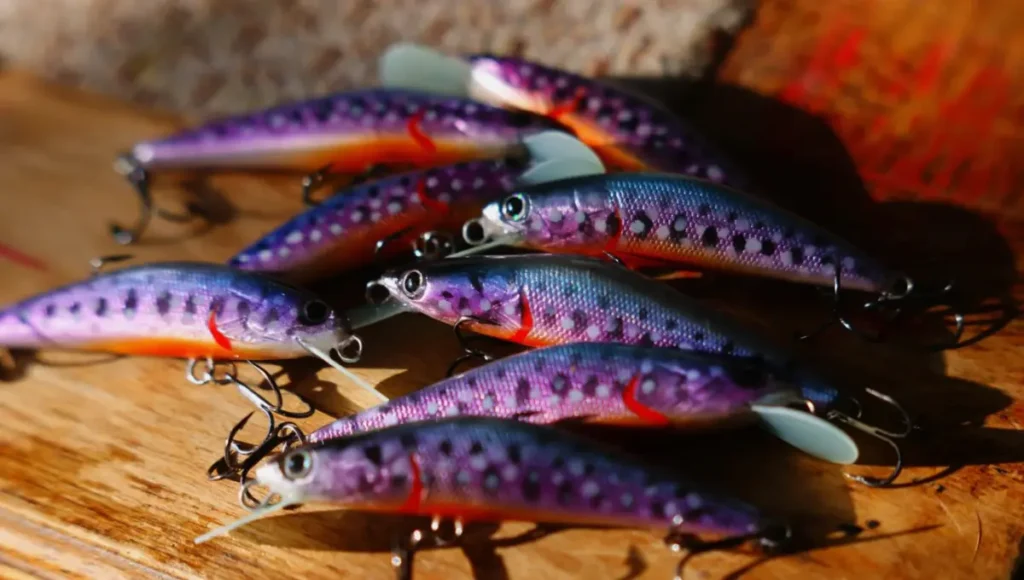
2. Making Crankbaits
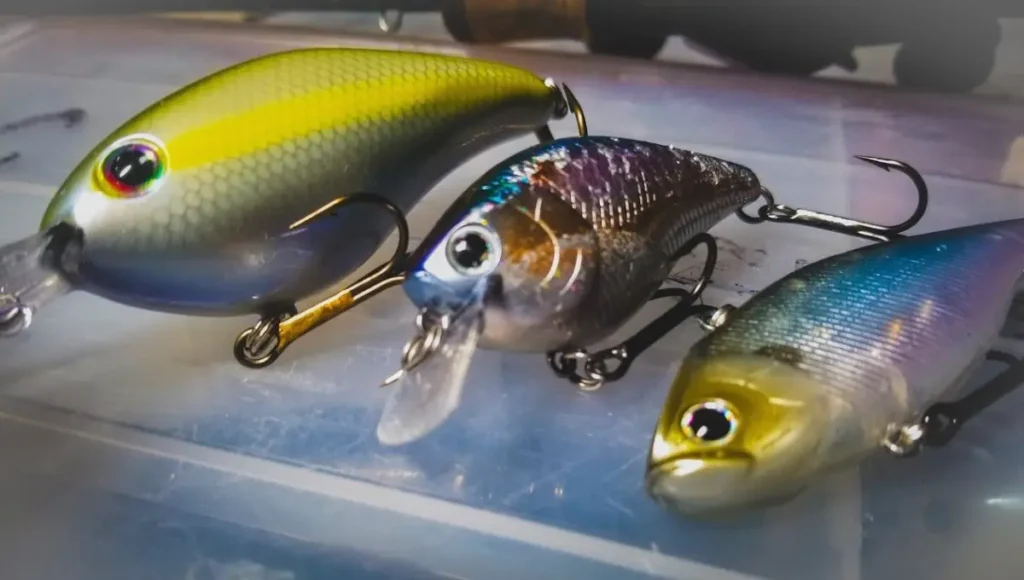
Delving into the craft of making crankbaits is an exciting endeavor, especially considering their versatility as fishing lures crafted from either wood or plastic. My encounter with a crankbait during a California fishing trip, where it effectively mimicked a wounded fish, resulting in a successful day of landing large catches, highlights the efficacy of this lure. Here’s a detailed guide to assist you in crafting your crankbait, ensuring its effectiveness in enticing your target species:
Embark on the process of making crankbaits, a rewarding endeavor that allows you to customize lures tailored to mimic wounded prey, making them irresistible to your target fish. Enjoy the satisfaction of creating a fishing tool that not only reflects your skills but also yields impressive results on the water.
3. Making Jerkbaits Or Stickbaits
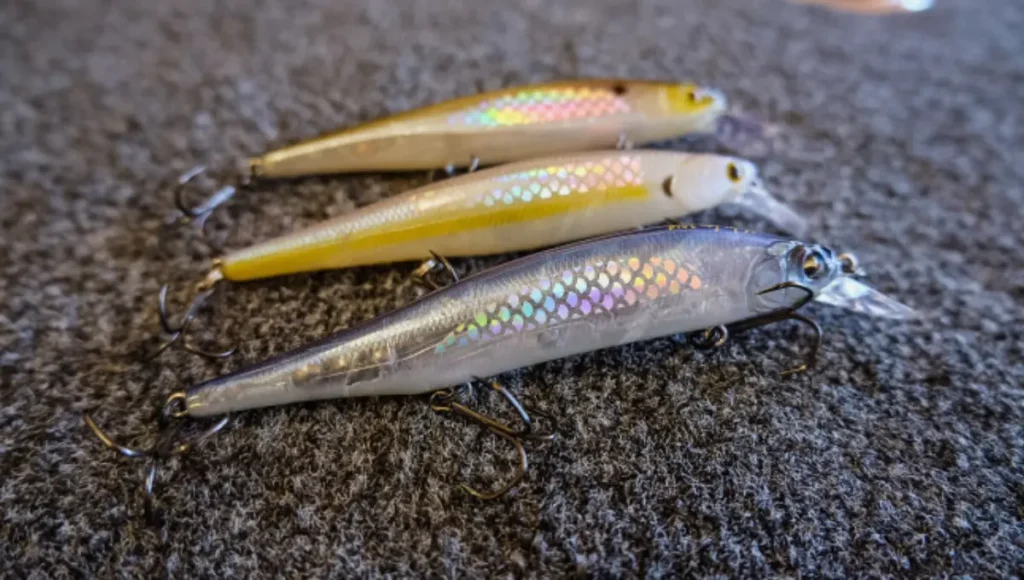
Crafting jerk baits or stick baits is an artful endeavor, allowing anglers to replicate the appearance of baitfish in various sizes through these long, minnow-like lures. Reflecting on the past, my Dad utilized the floating jerk bait model, a testament to their enduring popularity in angling.
Contemporary advancements have introduced new dimensions, with some jerk bait models exhibiting slow rising or sinking actions at rest, enhancing their realism. If you’re interested in making your jerk bait, follow these steps:
By following these steps, you embark on the journey of creating personalized jerk baits or stick baits, each possessing the potential to entice bites from discerning fish. Enjoy the process of crafting lures that not only pay homage to tradition but also incorporate modern innovations for an enhanced angling experience.
4. Making Spinners And Inline Spinners
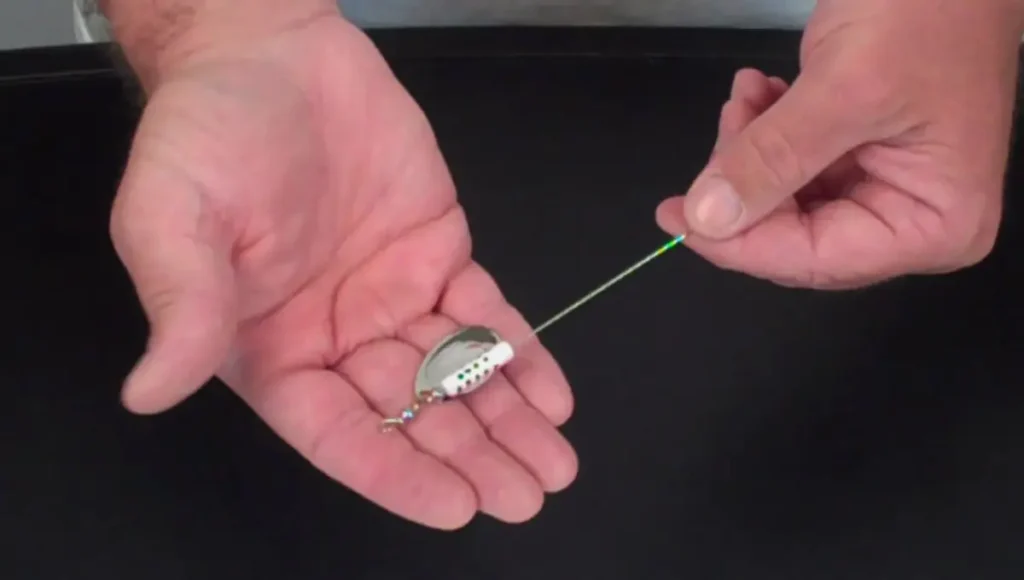
Embarking on the craft of making spinners and inline spinners is a delightful and gratifying venture, transforming your love for fishing into a hands-on, rewarding project. Beyond the sheer enjoyment of the process, these spinners prove highly effective for enticing a diverse array of species, including trout and bass. Here is a step-by-step guide to creating your spinners and inline spinners, turning your passion into tangible success:
Embark on this journey of crafting spinners and inline spinners, and not only will you find joy in the process, but you’ll also be armed with effective lures to elevate your fishing experience.
5. Making Spinnerbaits
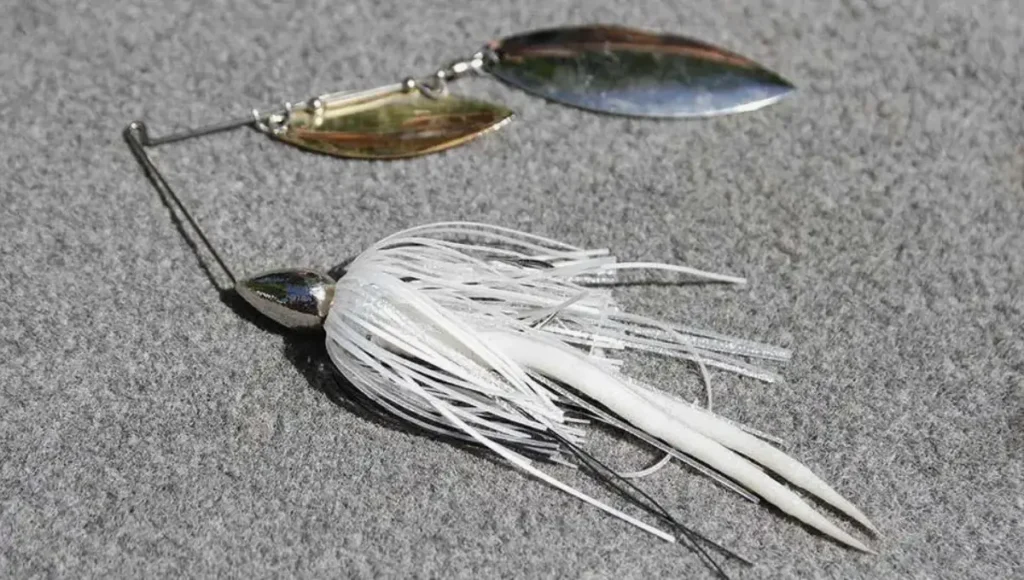
Engaging in the craft of making spinnerbaits unveils a strategic approach for bass fishing, supported by the global success of this lure. In China, recognized as the world’s leading fishing country, spinnerbaits enjoy widespread use among fishermen. To fashion your spinnerbait, follow these step-by-step instructions:
Embark on the journey of crafting spinnerbaits, not only creating a custom lure but also adopting a technique renowned for its success in attracting bass. Elevate your angling experience with this valuable addition to your fishing arsenal.
6. Making Your Own Surface Lures Or Poppers
Creating your surface lures or poppers adds a personalized touch to your angling arsenal, especially effective for enticing smallmouth bass, largemouth bass, trout, and perch. Notably, these fishing lures have contributed significantly to Indonesia’s fishing success. To embark on crafting your topwater lures, follow these essential steps:
By following these steps, you not only engage in the art of lure crafting but also create custom surface lures that echo the success of Indonesian fishing techniques. Enjoy the fulfillment of crafting lures designed to entice and captivate fish, elevating your angling experience.
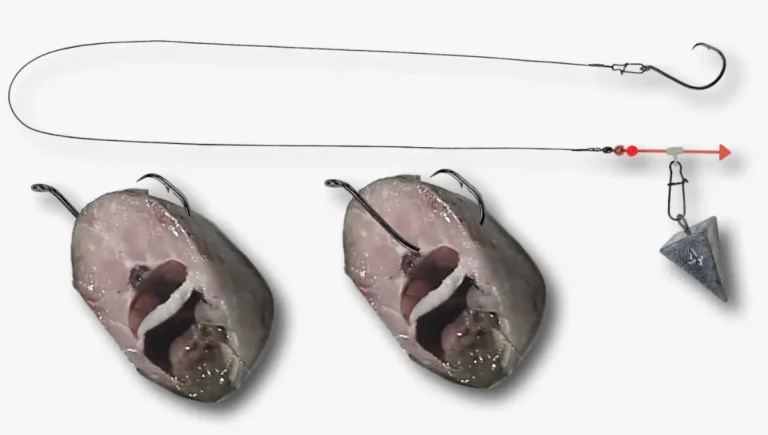
7. Making Jigs And Jig Heads
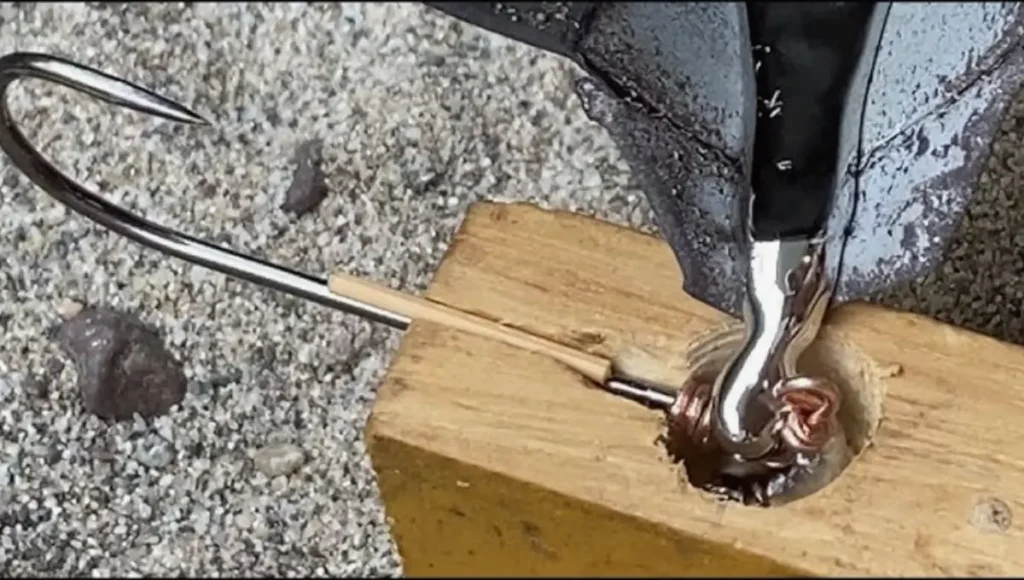
Crafting your own jigs and jig heads becomes a cost-effective solution, a lesson I learned five years ago when I had a limited $50 budget for a fishing trip in Boston. Instead of purchasing jig heads, I opted to make them, allowing me to allocate my budget strategically. To cut costs on your fishing gear, consider these detailed steps:
By following these steps, not only do you save on expenses, but you also experience the satisfaction of creating personalized jigs and jig heads tailored to your fishing needs. This DIY approach allows you to maximize your budget while enjoying the process of crafting effective and unique fishing gear.
Lure Making Process
The process of crafting fishing lures is an intricate art form, dedicated to the creation of baits that skillfully imitate the appearance of prey. As highlighted previously, essential materials for this endeavor encompass wood, plastic, or metal.
To streamline your fishing endeavors, it’s paramount to attach treble hooks to your lures, simplifying the task of capturing any fish enticed by the bait. It’s worth noting that contemporary plugs and crankbaits predominantly utilize hard plastic, although their original counterparts were crafted from wood, serving the same functional purposes.
Rather than opting for expensive commercially available lures, I encourage a cost-effective approach by carving your own. Successful lure-making necessitates a harmonious amalgamation of artistic prowess and scientific understanding, aiming to convincingly deceive fish—an overarching goal shared by many anglers.
Optional Steps In Lure Making
Undoubtedly, in every worldly process, there exist optional steps, denoting their non-compulsory nature. Lure making, as a customizable craft, presents optional steps for those eager to refine their skills and explore novel tactics and ideas.
For seasoned lure makers, these steps might be superfluous, yet for those keen on expanding their lure-making prowess, these additional tactics could prove invaluable. The optional steps in lure-making encompass:
While not obligatory for every lure maker, these optional steps open avenues for creativity and innovation, allowing enthusiasts to tailor their creations according to individual preferences and the specific tastes of their target fish species.
Frequently Asked Questions
Conclusion
In concluding our exploration of lure making, we’ve traversed the intricate steps necessary to craft personalized fishing lures. It’s now the opportune moment to put these acquired skills into action, transforming theory into practical expertise.
My advice is to reassess your spending habits; and redirect your savings toward crafting your lures rather than purchasing them. Invest wisely in superior fishing gear, opening doors to a more sustainable and fulfilling angling experience.
As you venture into the realm of crafting, anticipate not only cost savings but also the intrinsic satisfaction of creating bespoke lures. The gateway to self-sufficiency and productivity is wide open – it’s your turn to seize the opportunity. Happy fishing, and may your endeavors on the water be both lucrative and gratifying!